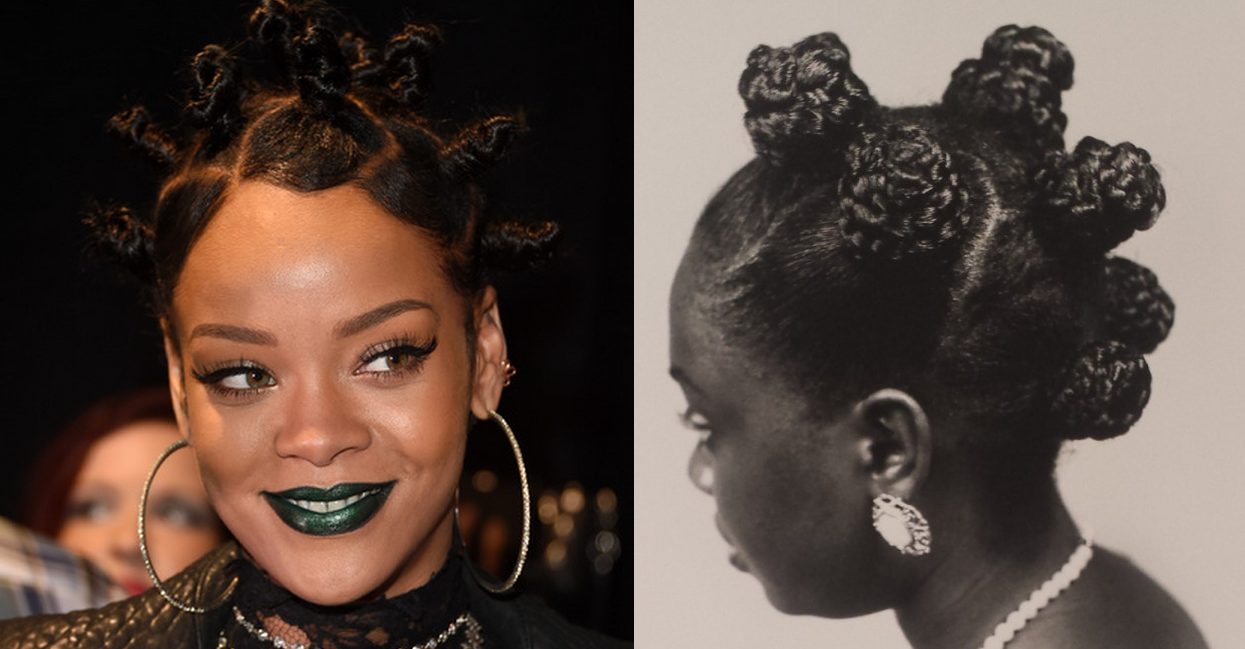
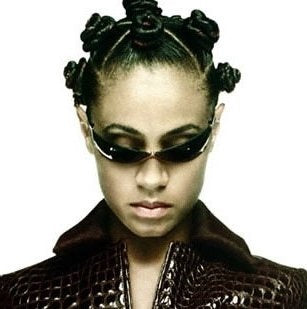
 Looking for a way to get lustrous curls from your straight locks? Searching for a simple, efficient way to tame your kinky or curly hair into larger, softer waves? Well, one hairstyle offers the perfect solution to both hair styling dilemmas. Long regarded solely as an African of African-American hair style, Bantu knots or Zulu knots are actually great for any and everybody. One of the few ways to do your hair that works with all four hair types, Bantu knots and Bantu knot-outs can help smooth out and define curlier tresses, or add a bit more curly anarchy to straighter ones, too. Here’s how to create this truly versatile style:
Steps 1-3: Thoroughly wash, condition, and detangle hair.
Make sure to get the scalp particularly clean, as much of it will be exposed, and the last thing you want is for product buildup to leave you scratching your head and ruining your style. A leave-in conditioner will help protect tresses and keep flyaways in check while you detangle your hair to prep for styling.
Step 4: Part damp hair into sections, using a comb.
Creating precise parts is a crucial component of having great Bantu knots. Use the end of a rattail comb for best results and divide hair into small, medium, or large sections, depending on the length of your hair and the ultimate style you want. Use smaller sections for shorter hair—as tiny as ½-inch wide or smaller, for the shortest locks—and larger ones for longer hair, up to 3 or 4 inches across. If you intend to take down your knots for a Bantu knot-out later, consider the texture you want to achieve:
- To get wavy hair for a looser, free-flowing effect, use fewer, medium-sized to large knots (about 1 ½ to 3 inches across).
- If you want to get curly hair or more curl definition, create smaller knots, and more of them (again, the length of your hair will determine the size, but 1 to 2 inches will likely work).
Many people like to make creative patterns when sporting Bantu knots. You may choose to divide hair into interlocked triangles, diamonds, or squares. Just make sure to be consistent around your whole head, and have fun with it.
Step 5: Using gel, setting lotion, or pomade for control, “screw” hair into a taut rope.
Some stylists prefer to two-strand twist hair first, but this simpler method saves time and works just as well. Simply work holding product into the hair one section at a time, and, starting at the roots, twist each section between your fingers as if you were turning a doorknob. Work your way down the hair shaft, keeping tension fairly high, until you are holding the very end of the section away from your head, like a rope.

By far the trickiest part of the procedure—yet so easy! Still working one section at a time, give the “rope” you’ve just created a few extra turns; the hair should start to coil in on itself like a spring. After a few turns, you’ll have a nice base coil around which to wrap the rest of the twisted hair. Do so, and make sure to wrap each layer closer to your head than the previous one, bringing the ends of your hair closest to your scalp. (On longer hair, this will create a sort of “pyramid” or funnel shape, while shorter locks will have a rosebud or baguette look to the knots.)
Why do this? Leaving the ends—which are most prone to unraveling—closer to the scalp makes it easier to secure the knot, either by tucking the ends underneath, using hair pins, or covering with elastic ponytail holders. (Tip: The first method will probably work best with curlier or kinkier hair types, while straight-hair girls should probably use hair pins or covered bands.)
Step 7: Repeat steps 5 and 6 on each section until all of hair is knotted.
As this is a wet set hairstyle, feel free to mist hair with water from a spray bottle if it starts to dry during the process.
Step 8: For a knot-out, remove pins or elastics, un-tuck ends, and reverse the process.
Wait a few hours, until hair is dry, or a few days, after sporting your knots for a little while. You may sit under a hair dryer, by air drying is probably best, to avoid frizzies. Do NOT blow-dry knots.
Once hair is completely dry, carefully unwrap each knot, leaving coils of curled--yet still twisted together--hair hanging free. Next, work a bit of light pomade, styling mousse, or even leave-in conditioner over tresses and loosen the twists, either by combing with a wide-toothed comb or by finger-combing. Try not to over-do this step, as too much handling will likely reduce your curls to a frizzy mess.
Either way you choose to go, knots or a knot-out, the final step is to mist hair with a bit of hairspray, spritz, or oil sheen—whatever works for you—and head out the door to turn heads with your brand-new, gorgeous style. Cover hair with a satin bonnet or wrap at night, and the style should last for 1 or 2 weeks, perhaps even longer, if you cleanse the scalp with an astringent like witch hazel every 3 or 4 days. And, if you sport your knots before rocking your knot-out, you get two styles in one. Who knew that one style could do so much for so many? Now, you do!
 Have Questions? Call Us!


